I love to drink a lot of kombucha. Like many, I started brewing in one-gallon batches, but I quickly realized this wouldn’t be nearly enough to satisfy my thirst.
Being a former beer brewer, I was already familiar with brewing in 5-gallon batches, as this is the size for most beer recipe kits and the overall industry standard.
With kombucha, it just made sense for me to scale up, and now I’m going to teach you how to brew 5 gallons of kombucha at a time so you’ll always have fresh kombucha ready to drink.
You may have heard of another way to always have kombucha on standby through continuous brewing. This method can work for some, but it is more fun to scale up the process, and five gallons will quench your thirst until the next batch is ready to be brewed.
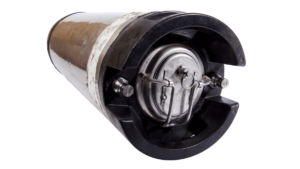
Because you’ll be brewing 5 gallons of kombucha, this method also works best if you can keg your brew.
You can bottle it, but kegging saves time, and with burst carbonation, you can drink your kombucha in days instead of a week or longer.
If you purchase a recommended product after clicking one of the links in this post, I may earn a commission, but you pay nothing more.
What Equipment Do You Need
Since I started brewing beer before kombucha, I could quickly use my existing gear to scale up my kombucha homebrewing operation.
I’ll go over what I use, which may be a bit overkill for brewing kombucha, but I’ll provide some alternatives that you can use, then decide on what direction you’d like to go.
If you’d also like to brew beer, you can start with the right equipment up front instead, then start small and skip the perpetual process of constantly upgrading your gear.
Brewing Vessel

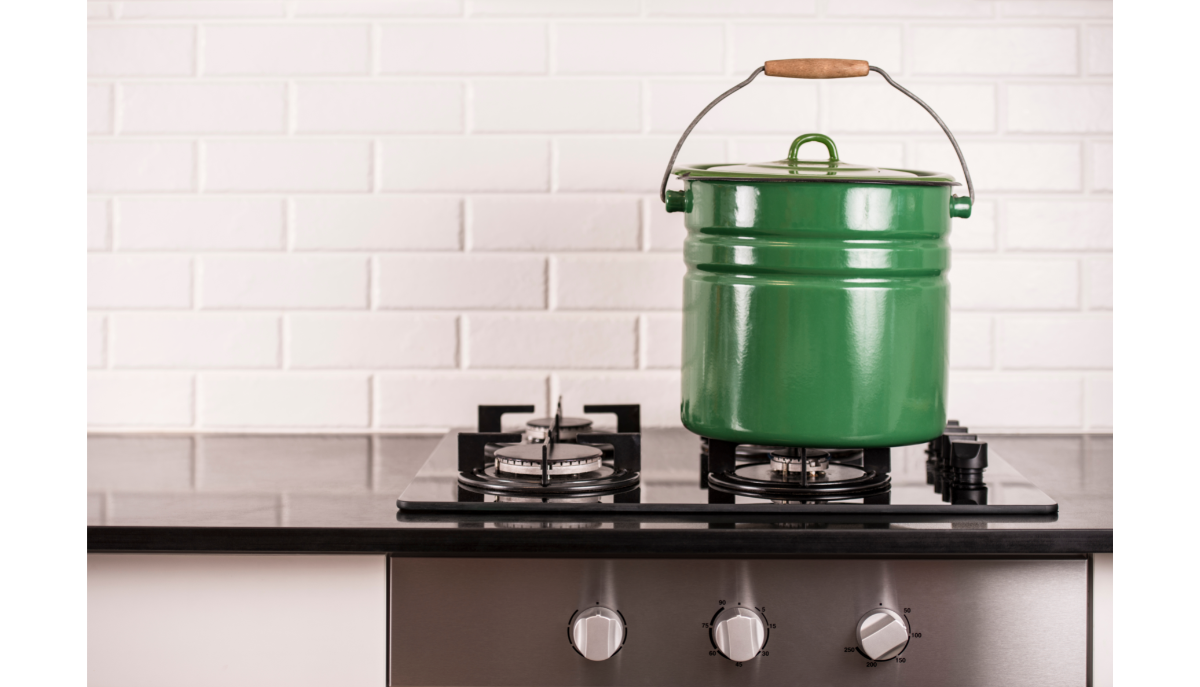
I use a 10 Gallon MegaPot 1.2, Brew Kettle from Northern Brewer (without the thermometer). The reason is that I already had this pot for homebrewing beer, so it’s perfect for brewing kombucha, and it’s an all-around excellent brewing pot.
However, any large pot will do, but the convenience of having a ball valve to dispense the hot tea directly into the fermenter after steeping is invaluable.
A great budget pot I recommend that can double for brewing other beverages is the 8 Gallon Brewer’s Best Brew Pot. You can include the ball valve to quickly transfer your sweet tea directly into your fermenter without hassle.
Fermenter
Speaking of the fermenter, you will need one to complete the first fermentation, and just like everything regarding brewing, you have a few choices to consider.
I use the Ss Brew Bucket 7 Gallon Stainless Steel Fermenter because you can easily substitute a breathable towel to cover the bucket and give your SCOBY oxygen for the first fermentation.
After adding flavoring, remove the SCOBY and replace the towel with the lid. It also comes with a ball valve for easy transferring into your keg.
I’m also a fan of Speidel fermenters, and I also own the Speidel 30L (7.9 gals) Plastic Fermenter that would easily hold 5 gallons of kombucha, or you could opt for its 12L (3.2 gals) sibling instead if you’d like to scale down a bit.

The opening on these fermenters isn’t quite as large as the Ss Brew Bucket, but they are still wide enough to insert your SCOBY. They can easily accommodate a breathable towel to provide oxygen for the first fermentation.
Although glass is entirely acceptable when brewing kombucha in smaller batches, I don’t recommend glass carboys (standard fermenters when brewing beer) for larger kombucha batches.
I’ve had the experience of having one crack at the bottom when trying to transfer the wort (beer brewing) to a keg, and the entire bottom came out, and beer covered my whole garage. Yes, it’s a sad story, but luckily I didn’t cut myself, which is the most significant danger when using glass carboys. Don’t do it!
Hmm, I guess I don’t recommend carboys for fermenting beer, either.
Keg

The most straightforward setup is a used keg system and a picnic tap. Of course, you’ll need a large enough fridge to house the system and a Co2 dispenser.
Miscellaneous Stuff
- Transfer Hose
- Digital thermometer
- Breathable towel
- Bungee cord or something to secure the towel
Basic Kombucha Recipe

My other guide, How to Make Kombucha for Beginners, covers how to make batches up to 1 gallon, and since kombucha scales up so quickly, this is just that recipe, but for 5 gallons.
Additionally, you’ll need a viable SCOBY, so if you don’t have one, you can use this guide to make one from scratch with a few essential items, and you’ll get some potent starter tea to kick off your first batch.
Lastly, make sure to download my FREE Kombucha Homebrew Cheat Sheet to learn the 6 things you shouldn’t forget on brew day by clicking the link below:
Free Kombucha Homebrew Cheat SheetKombucha Ingredients
- 4.5 gallons of filtered water
- 5 cups of white cane sugar
- 40 tea Bags or 10 tablespoons of Loose Tea (you can use metal tea balls). I use a 50/50 blend of black and green tea
- 10 cups of starter tea or unpasteurized store-bought kombucha
- Active Kombucha SCOBY
Steps
- Prepare Sweet Tea: Bring 2 gallons of the water to a boil and remove from heat as the water starts a rolling boil. Dissolve sugar into it and give it a gentle stir. Add tea bags or loose-leaf tea and steep for 20-25 minutes.
- Remove Tea Bags: OR completely strain the loose tea leaves from the liquid.
- Cool to Room Temp: Take the remaining 2.5 gallons of cool water and add to sweet tea, which should bring the mixture down to room temperature. You should shoot for a temperature between 68-85 degrees F, 20-29 C. Test with a digital thermometer, as higher temperatures can damage your SCOBY.
- Transfer Sweet Tea and Add SCOBY: Transfer the liquid to your fermenter, thoroughly clean your hands, then drop in your SCOBY. If this is your first kombucha batch, use the liquid the SCOBY was growing in (this can be your starter kombucha), along with unpasteurized store-bought kombucha, to achieve 10 cups.
- Add Starter Tea: Pour the sweetened tea into your fermenter, then pour in unflavored starter kombucha (10 cups reserved from SCOBY and store-bought). With clean hands, place SCOBY into the fermenter.
- Cover Fermenter: Cover the fermentation vessel with a few layers of tightly woven cloth or a breathable towel, and secure it with a bungee cord to keep bugs and other nasties out of your brew.
- Ferment: Place the fermenter in a still place where you can maintain an average room temperature of around (70-75 degrees F, 21-24 C) for seven days and up to 30 days. Keep the kombucha out of direct sunlight. The longer kombucha ferments, the less sweet and vinegary it will taste.
Brewers Notes
Don’t forget to reserve 10 cups for your next 5-gallon batch! I’ve missed this step plenty of times which puts you in a bind when you need strong starter tea for the next brew day.
Once the first fermentation has finished, I add organic juices directly to the keg before transferring the kombucha from the fermenter. However, this is only necessary if you want something other than plain kombucha.
You can experiment at this stage with fresh fruits, herbs, spices, freshly squeezed juices, or anything you want to try; it’s really up to you.
Wrapping It Up
Learning how to brew 5 gallons of kombucha may take some upfront costs to get started, but considering that one bottle of store-bought kombucha is around $4. If you brew consistently, this method will save you money, and it’s so much fun.
Cheers!


